Connect Integrations
saasmetrix currently supports more than 300 integrations. With a few exceptions, all integrations support loading, adding and deleting users. Many integrations have even more features, which can be viewed in more detail in the integrations overview.
This guide explains how to connect an integration to saasmetrix. The process usually takes only a few minutes.
Connect existing Integrations
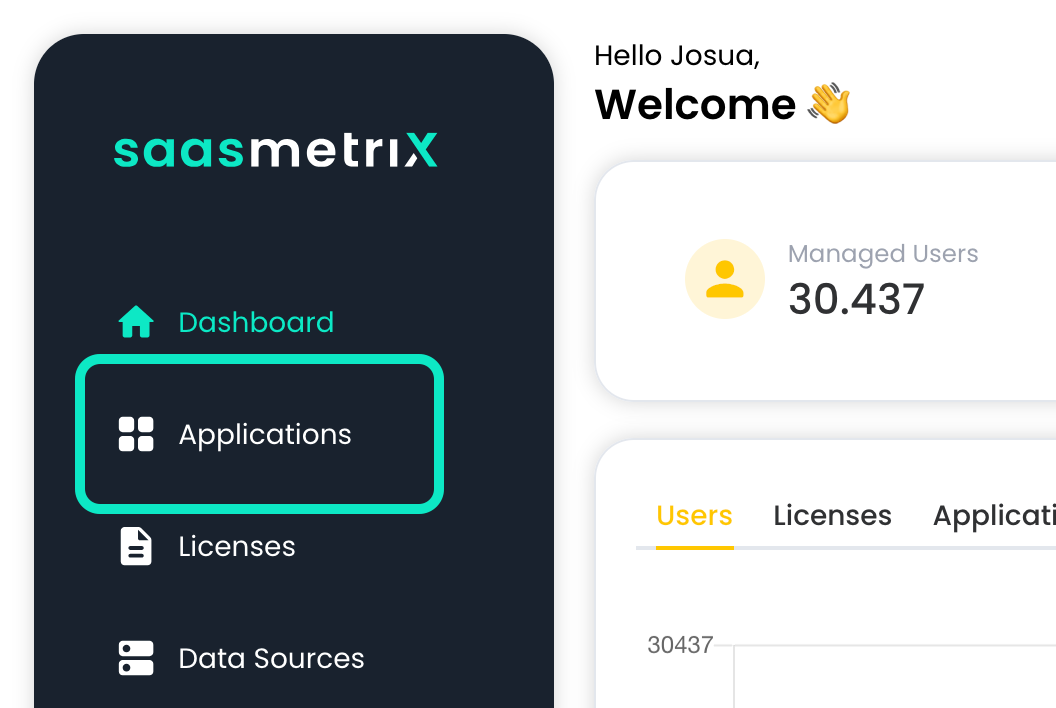
- Once logged into your saasmetrix account, navigate to the "Applications" section located in the dashboard menu on the left-hand side of the screen.
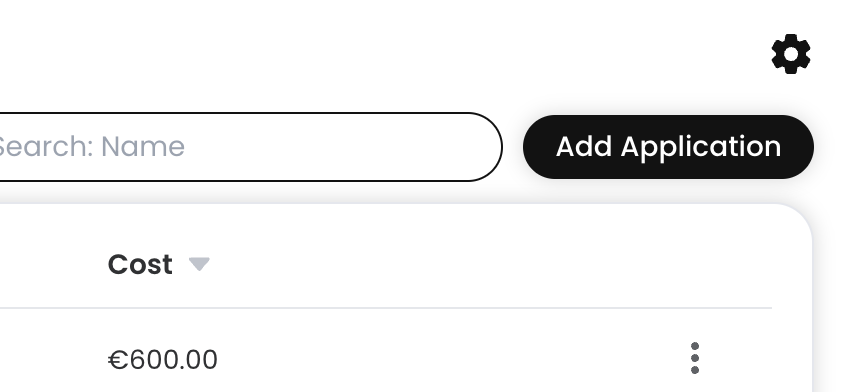
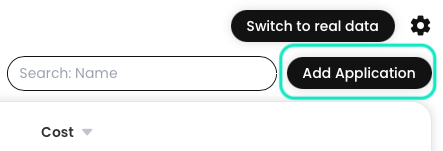
- In the Applications section, you'll find an option to add a new application. Click on the "Add Application" button to proceed.
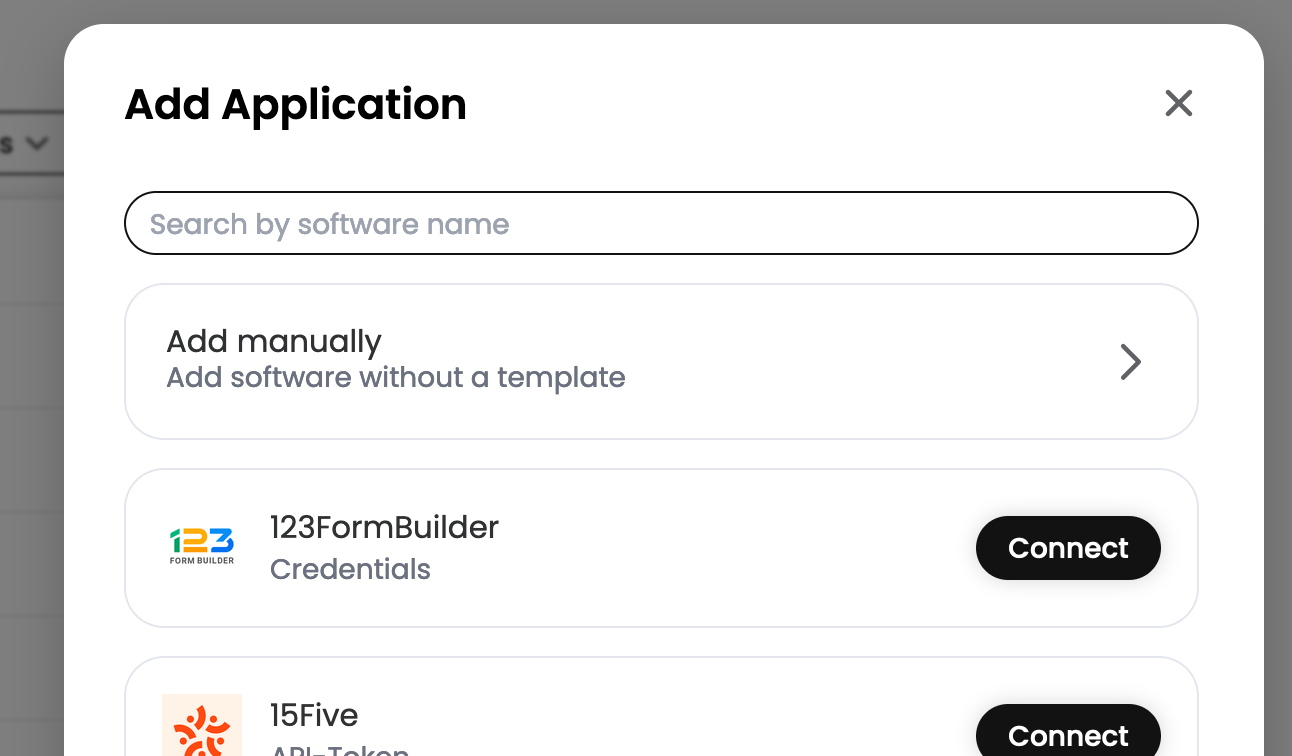
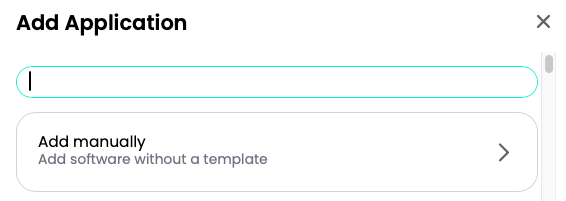
- A new drawer will open with a list of all available integrations. This list can be searched. If the required application is not yet supported, it can also be created manually.
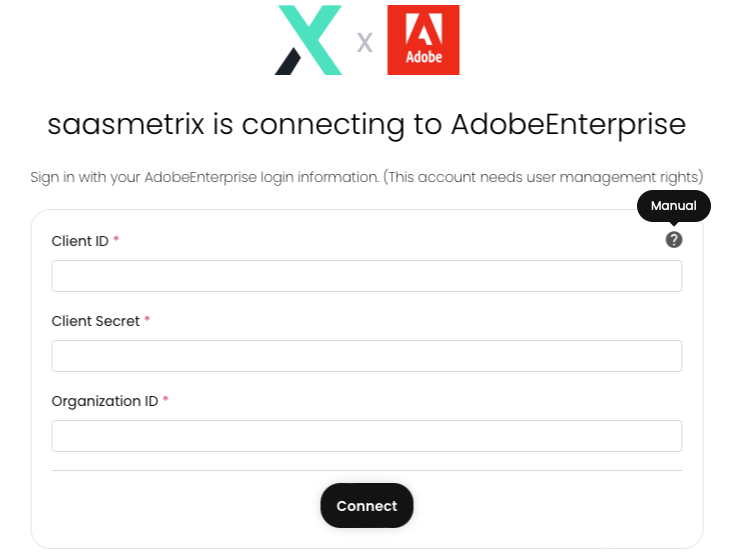
- After pressing the connect button, a new tab opens where the access data must be entered or saasmetrix integration must be authorized.
Connect OAuth Integrations
This option offers the possibility to connect an application without giving away passwords.

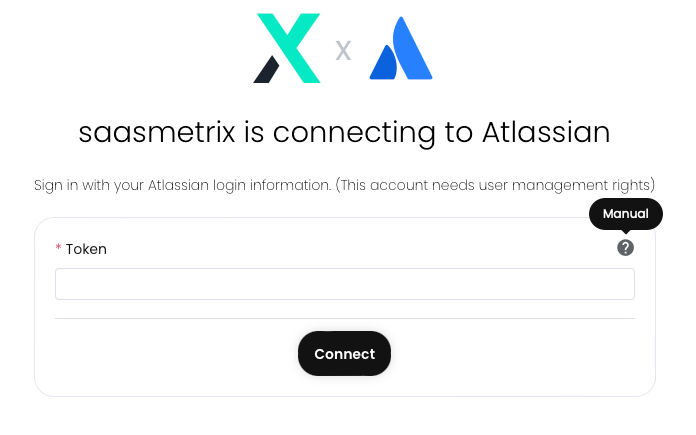
Connect Token Integrations
This option can be used to establish a connection to the application by generating an individual API token for the connection to saasmetrix.
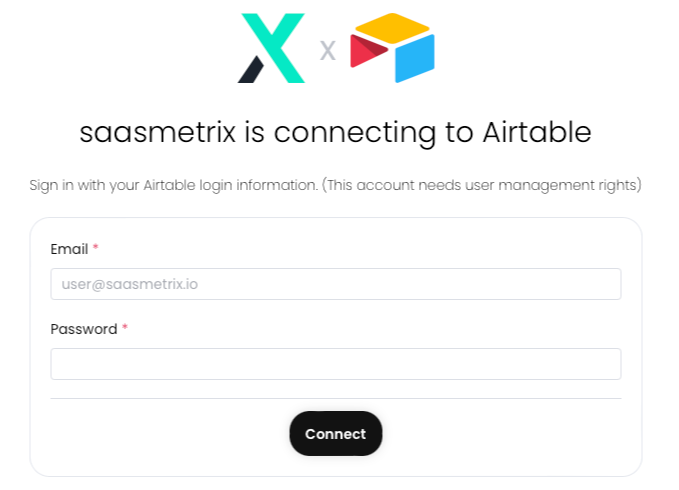
Connect Credential Integration
With this option, an application can be connected via the regular login data. It is important that the selected user account has the required administrator rights.
Manual managed integrations
Applications that are not yet available in saasmetrix can be temporarily connected manually. The required information such as the name and licence model can be entered via ‘Add Application’ -> ‘Add manually’.
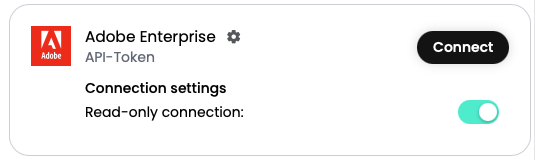
Connect a read-only Integration
If you only want to connect an application as read-only, follow these steps:
- Once logged into your saasmetrix account, navigate to the "Applications" section located in the dashboard menu on the left-hand side of the screen.

- Click on the "Add Application" button at the top right and select the required application.
- Now to limit access to read-only, you can select the "Read Only" option before proceeding.
- Depending on the type of connection, follow the instructions by clicking on the small question mark in the corner.